 FIELD
How to pan for gold: a beginner’s field guide
A gold pan, a bucket of creek gravel and a little patience are all it takes. Gold is about nineteen times heavier than water, and panning simply lets that weight do the sorting — once you learn the shake, the swirl and where to dig.
Panning is the oldest and simplest way to recover placer gold: the flakes, grains and occasional nuggets that weathered out of hard-rock veins and were carried downstream by water. It needs almost no equipment, it works in most gold-bearing streams of the western United States and the southern Appalachians, and it is a great way to learn how rivers sort heavy minerals. This guide explains how to pan for gold step by step, what kit to bring, where gold settles in a stream, how to tell real gold from fool’s gold, and the rules to check before you dig. It pairs well with our guides to specific gravity and mineral tenacity, the two properties that make gold so easy to separate.
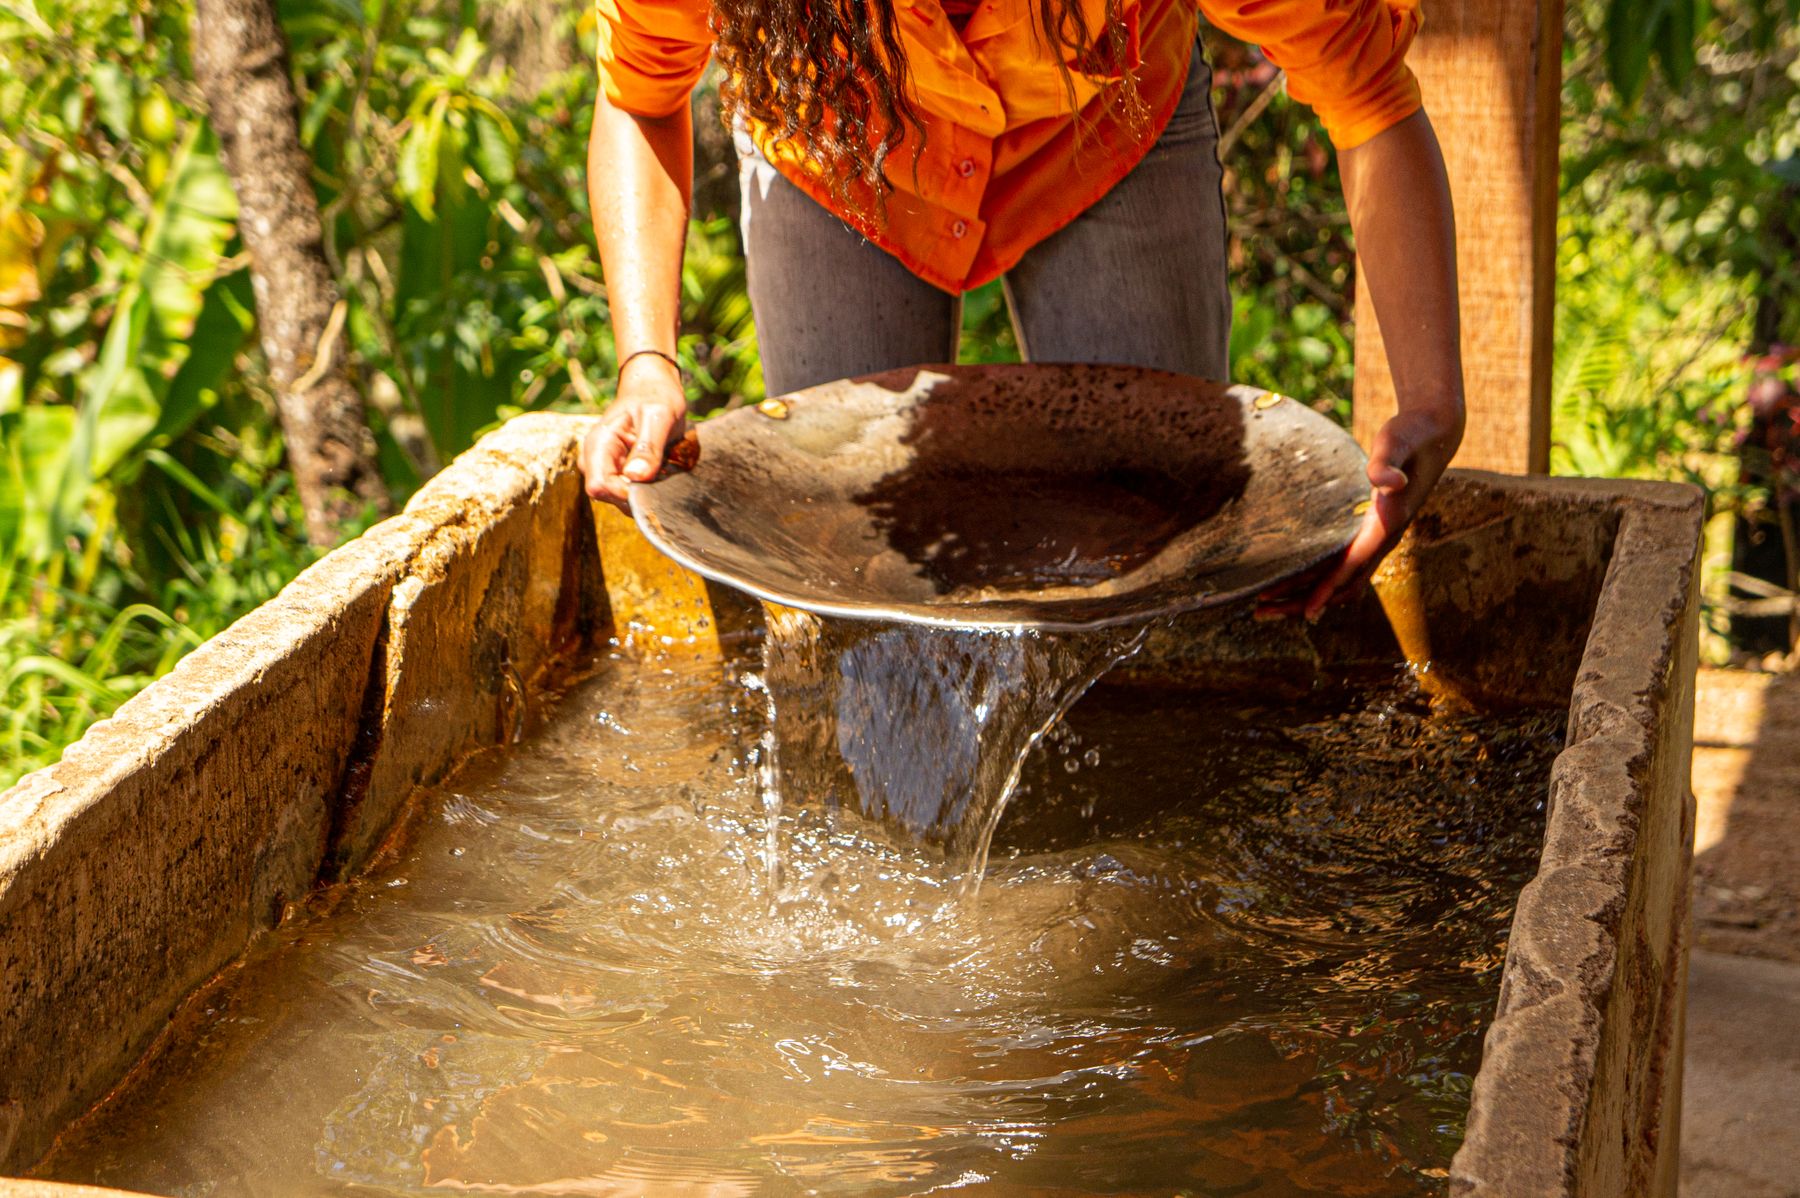
Why panning works
Native gold has a specific gravity of about 19.3 when pure, and natural placer gold, alloyed with some silver, usually runs between roughly 15 and 19. Ordinary sand and gravel, mostly quartz and feldspar, sits around 2.6 to 2.7. When you shake a pan of wet gravel, the heavy particles sink through the lighter ones and collect at the bottom, exactly as they do in a riverbed during a flood. Panning reproduces that natural sorting in your hands, then washes the light material away over the rim.
Gold is also soft (2.5 to 3 on the Mohs scale), malleable and chemically inert, so it does not rust or dissolve in the stream. That is why tiny flakes can survive transport for long distances while the vein that released them is miles upstream.
Basic gold panning equipment
You can start with a single pan, but a few cheap extras make the work faster and help you keep the fine gold you find.
Essential kit
- Gold pan → 10 to 15 inches across, plastic with molded riffles on one side; green or black shows gold best
- Classifier → a sieve that sits on a bucket, usually 1/4 or 1/2 inch mesh, to screen out rocks
- Small shovel or trowel → for digging gravel down to bedrock
- Bucket → to carry and classify material
- Snuffer bottle and vial → to suck up flakes and store them in water
Useful extras
- Crevice tool — a bent steel pick for scraping bedrock cracks
- Magnet — to pull magnetite from black sand at home
- Hand lens — to check tiny flakes; see how to use a hand lens
- Waders or rubber boots — cold water saps your patience fast
- Tweezers and a tray — for picking out larger flakes
If you are new to the hobby in general, our guide on how to start rockhounding covers safety gear, maps and field habits that also apply to prospecting.
Where gold settles in a stream
Gold is not spread evenly through river gravel. Because it is so heavy, it drops out wherever the water slows down, and it works its way down to the deepest layer it can reach. Reading the stream matters far more than panning technique.
- Inside bends: water slows on the inside of a curve, so gravel bars there often trap heavies, especially at their upstream head.
- Behind large boulders: the slack water on the downstream side of a big rock is a natural trap.
- Bedrock cracks: where bedrock is exposed or shallow, gold collects in fractures and under the gravel lying directly on it. Scraping crevices is often more productive than surface digging.
- Where the gradient flattens: a steep stretch that suddenly levels out drops heavy material.
- Black sand streaks: dark bands of magnetite, hematite and garnet show where heavy minerals concentrate. They do not guarantee gold, but they show the water was sorting by weight.
- Old high bars and benches: gravel left above today’s channel by older, higher rivers can still hold gold.
A geologic map helps you find streams that drain areas of quartz veins, granite intrusions or known historic mining districts. Historic records are also a strong clue: where miners worked placers in the 1800s, there is usually still fine gold left behind.
How to pan for gold, step by step
Work in calm water at least a few inches deep, ideally where you can sit or kneel comfortably. Each step below takes only a minute or two once you have the rhythm.
1. Classify and fill the pan
Shovel gravel through the classifier into the bucket, or straight into the pan if you have no screen. Fill the pan about three-quarters full. Removing the big stones early saves time, but check the coarse rocks quickly for nuggets before throwing them away.
2. Submerge and break up the material
Sink the pan under water and knead the contents with your fingers to break up clay lumps and roots. Clay can hold gold and carry it out of the pan, so take your time here. Pick out the remaining larger stones once they are rinsed.
3. Shake to stratify
Holding the pan level just below the surface, shake it vigorously side to side and in small circles. This is the key step: it lets heavy particles sink to the bottom. Shake longer than you think you need, especially before each round of washing.
4. Tilt and wash off the top layer
Tilt the pan forward slightly, riffles toward the far edge, and use a gentle forward-and-back or circular motion to let the water carry the lightest top layer over the rim. Stop, level the pan, shake again to re-settle, then repeat. Little by little the pan empties of light sand.
5. Work down to the black sand
When only a cup or so of material remains, you will see dark heavy sand. Lift the pan almost out of the water, leave a little water in it, and swirl slowly so the water fans the black sand back. Gold, being heavier still, usually lags behind as a yellow tail at the edge of the black sand.
6. Recover the gold
Suck up visible flakes with the snuffer bottle or pick them out with tweezers, then put them in a water-filled vial. Many panners save the black-sand concentrate in a separate jar and finish it at home, where a magnet and careful panning in a tub recover the finest “flour” gold.
Real gold or fool’s gold?
Almost every beginner gets excited by something shiny that turns out not to be gold. The three common impostors are pyrite, chalcopyrite and weathered mica, and simple tests separate them all.
- Behaviour in the pan: gold stays put and lags behind the black sand. Mica flakes float and wash away with the slightest swirl.
- Light test: turn the pan in the light or shade it with your hand. Gold stays a warm, buttery yellow from every angle. Pyrite and mica flash bright in one position and go dark in another; see our mineral luster guide.
- Pin test: press a pin on a flake. Gold is malleable and dents or flattens. Pyrite is brittle and shatters into powder, and mica splits into thin sheets.
- Streak: gold leaves a golden-yellow streak. Pyrite leaves a greenish-black one, as explained in the streak test guide.
- Shape: pyrite often forms sharp cubes or crystal grains, while placer gold is usually flattened, rounded and irregular.
Rules, permits and claims
Before you dig, find out who controls the ground and the gold. In the United States, much public land in the West is open to mineral location under federal mining law, and an active mining claim gives the claimant the right to the minerals, even when the land itself is public. Panning on someone’s claim without permission is taking their gold. The Bureau of Land Management publishes claim records online, and many states and clubs maintain public panning areas where recreational panning is expressly allowed.
- Panning and all mineral collecting are prohibited in national parks and many other protected areas.
- State rules vary widely. Some states require a permit or follow seasonal windows to protect fish spawning; Washington, for example, regulates stream prospecting through the state’s Gold and Fish rules.
- Motorised equipment such as suction dredges is restricted or banned in several states, even where hand panning is allowed.
- Private land always needs the owner’s permission.
Fill your holes, do not undercut banks, leave vegetation alone and pack out trash. Our collecting ethics and the law page explains the basics, and state guides such as California, Alaska and Georgia mention known gold areas. A local rock or prospecting club is often the fastest way to find legal, productive ground.
Common beginner mistakes
- Panning the wrong gravel. Surface sand rarely holds much. Dig down toward bedrock or the hard-packed layer above it.
- Not shaking enough. Washing before the pan is stratified throws gold out with the sand.
- Tilting too steeply. A steep angle sends everything over the rim. Keep the motion gentle as the pan gets lighter.
- Rushing the clay. Unbroken lumps of clay carry gold right out of the pan.
- Expecting nuggets. Most recreational finds are small flakes and fine “colour.” A few flakes per pan is a good spot.
Practice helps: some beginners add a few small pieces of flattened copper wire or brass shavings to a pan of sand at home and practise until they can keep them every time.
Frequently asked questions
How do you pan for gold for beginners?
Fill a pan with gravel, break it up under water, shake the pan hard so heavy material sinks, then tilt it slightly and wash the light top layer over the rim. Repeat the shake-and-wash cycle until only black sand remains, then swirl gently to reveal any gold at the edge.
Where is the best place to pan for gold in a creek?
Look where water slows: inside bends, the downstream side of large boulders, places where the stream flattens out, and cracks in exposed bedrock. Gravel lying directly on bedrock is usually richer than surface sand.
How can I tell gold from pyrite in my pan?
Gold stays yellow from every angle, stays in the pan, and dents under a pin because it is malleable. Pyrite flashes and darkens as you turn it, crumbles when pressed and leaves a greenish-black streak.
Is it legal to pan for gold on public land?
Often yes, but not everywhere. Panning is banned in national parks, may need a state permit or follow seasonal rules, and is not allowed on active mining claims without the claimant’s permission. Always check with the land manager first.
What is black sand in gold panning?
Black sand is a heavy concentrate of minerals such as magnetite, hematite and garnet. It collects at the bottom of the pan with gold because both are dense, so it is a useful sign that your panning is working.
What size gold pan should a beginner use?
A 12 to 14 inch plastic pan with riffles is a good all-round choice. It holds enough gravel to be efficient but is light enough to shake for long sessions. A smaller finishing pan helps with concentrates.
Want a native gold specimen to compare your flakes against?
Sponsored — partner shop · Minerals Kingdom
Gold panning rewards patience more than luck. Learn why heavy minerals separate in our specific gravity guide, use a magnet to clean up black sand, and confirm doubtful flakes with the streak test.
Keep a note of where each vial came from; our guide to cataloging a rock collection shows how.
Written by The Field & Stone Editors · Published by KEVALEX Group.