 FIELD
FIELD How to catalog and label a rock collection
A rock without a locality is just a pretty stone. A numbered label, a simple catalog and sensible storage turn a box of finds into a collection that stays useful, and valuable, for decades.
Anyone who has dug, picked or bought more than a handful of specimens knows the problem: a year later nobody remembers which creek, which road cut or which dealer a piece came from. This guide shows how to catalog a rock collection with a numbering system, a plain spreadsheet, durable labels and safe storage. The method is the same one museums use, simplified for a home collector. It works whether you are tracking a few dozen finds or several hundred specimens, and it starts the moment you identify a stone with the tests in our guides to hardness and streak.
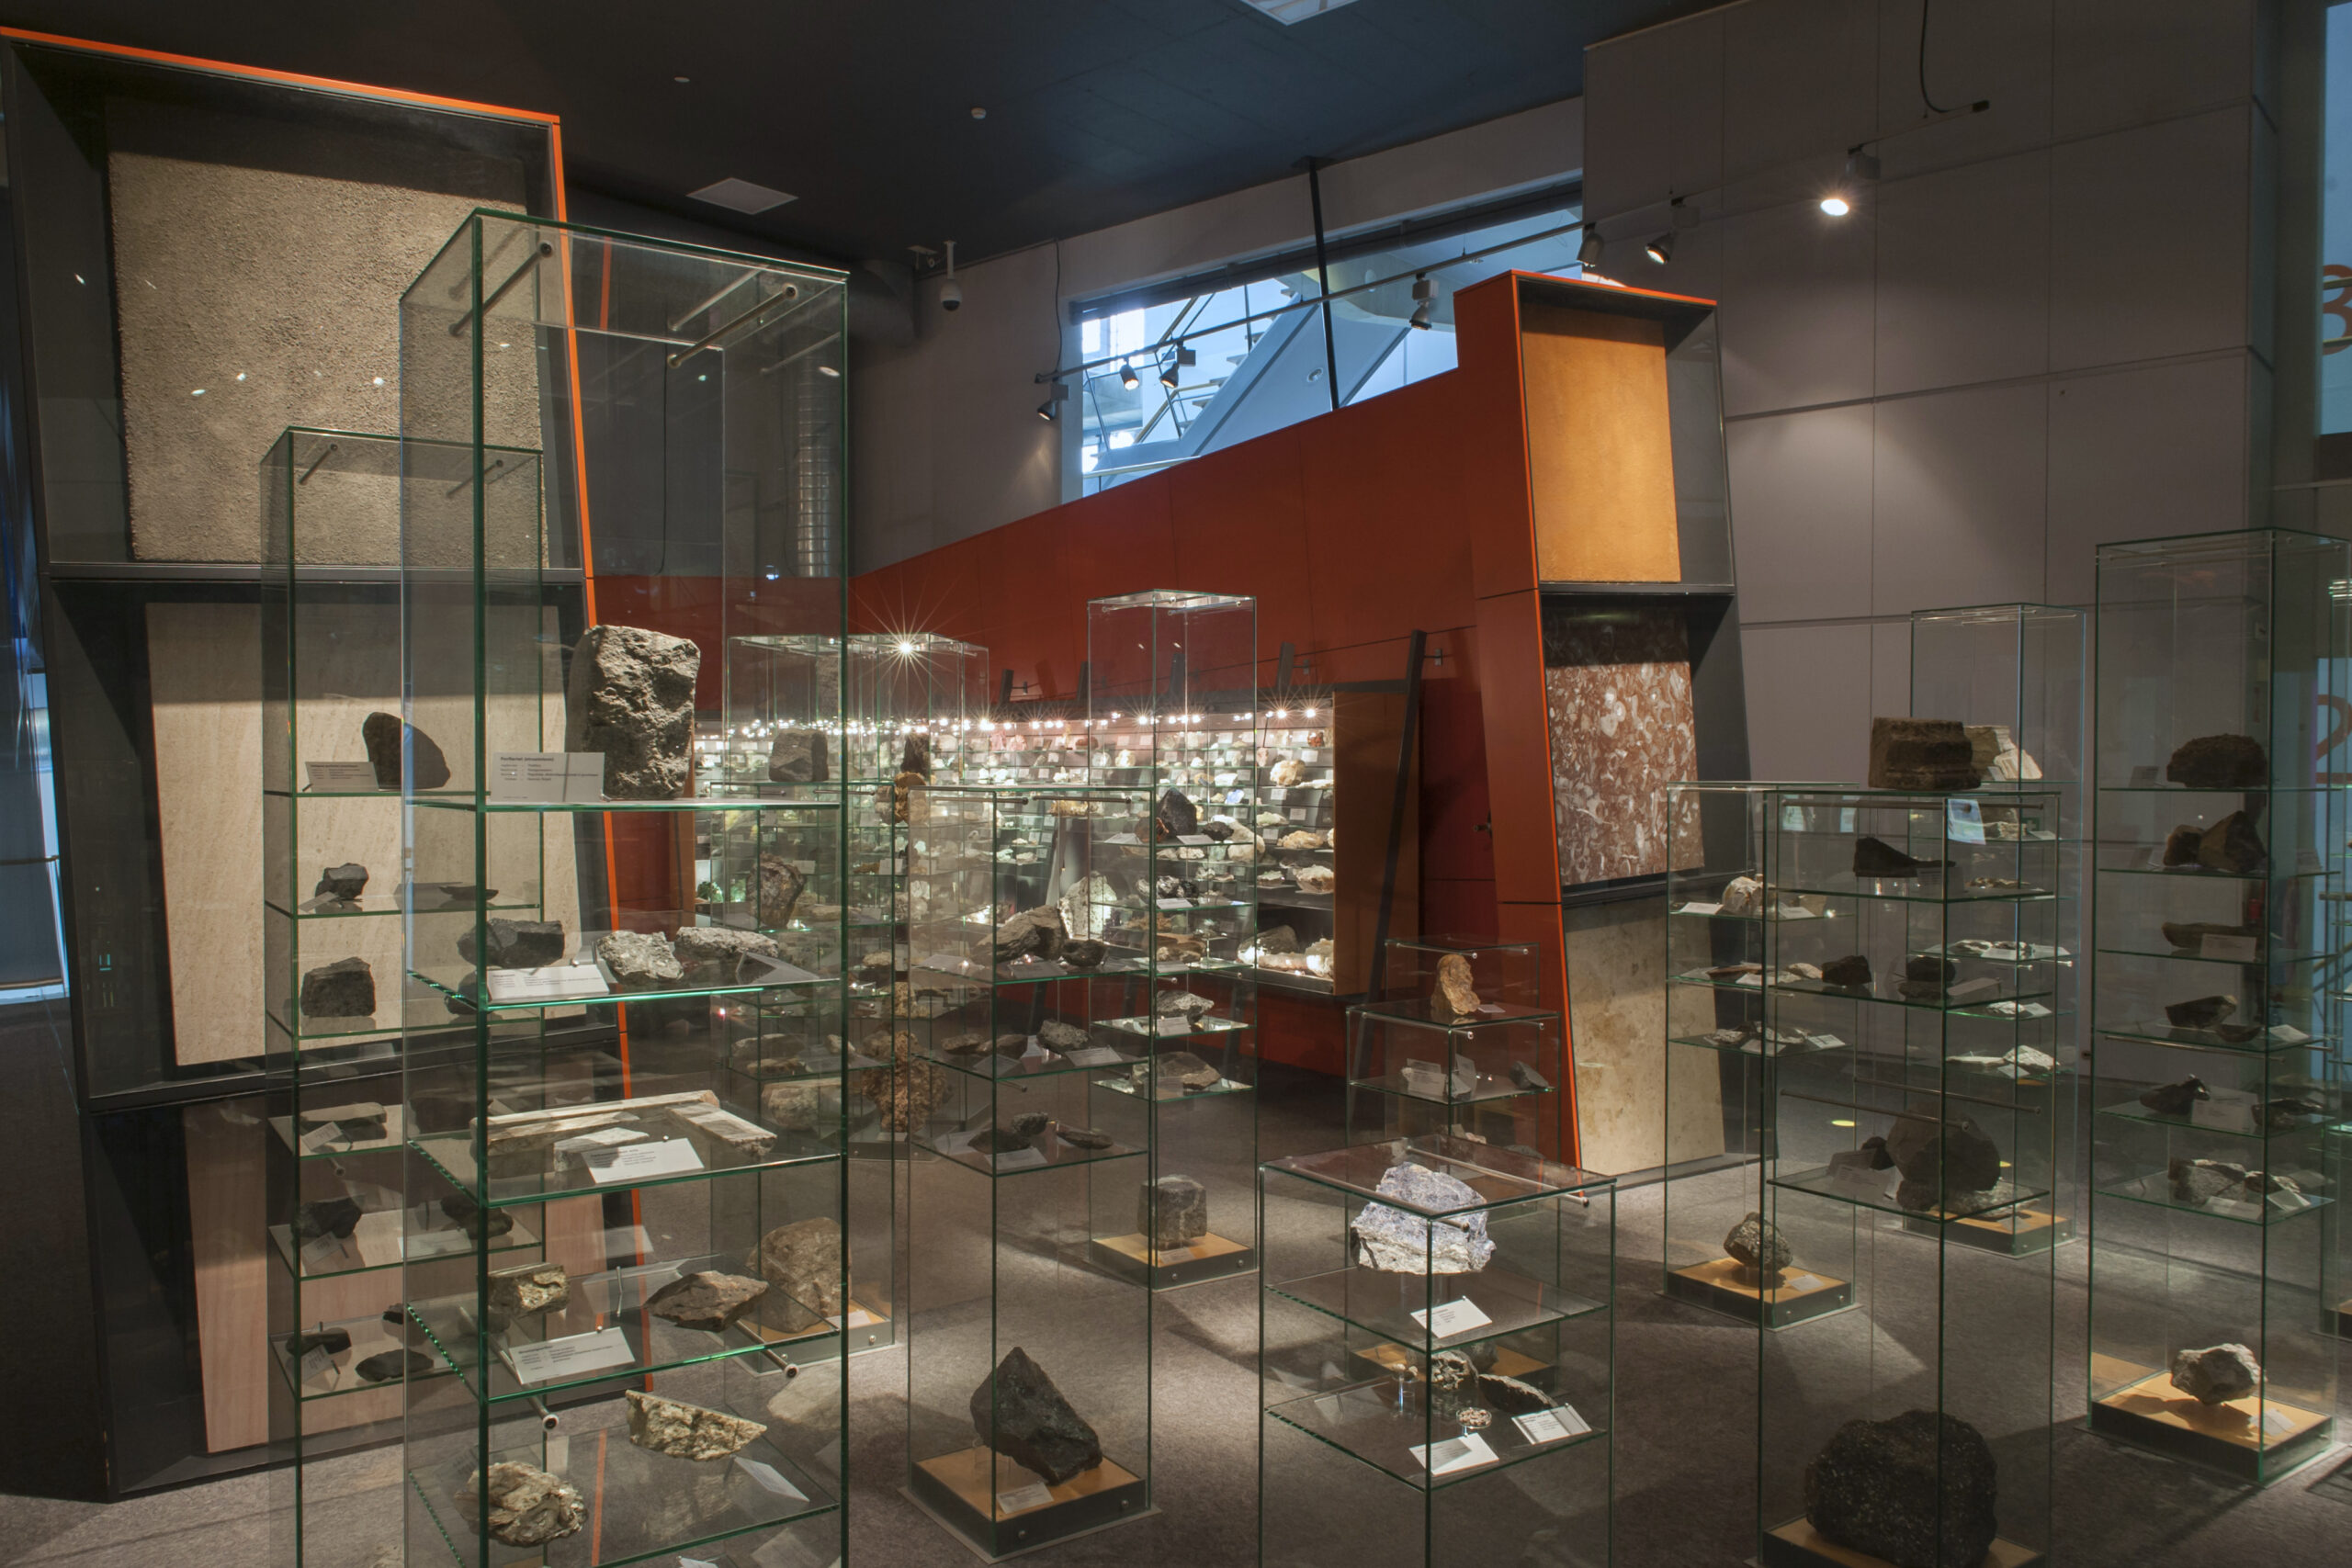
Why cataloging matters
Scientists value a specimen mostly for its data. A quartz crystal from a known mine and date can be compared with other samples; the same crystal with no history is decoration. The same is true for hobbyists. Locality is what makes a piece interesting to trade, to show or to pass on, and it is also what lets you return to the site. Records protect you in practical ways too: they prove where a specimen was collected, help with insurance, and let a family member understand what they have inherited.
It is much easier to build a good record as you go than to rebuild it later. A collector with a two-line note for each find is far better off than one with a shelf of unlabelled rocks.
Step 1: Record the find in the field
The most important data is collected before you leave the site, while you can still see where the rock came from. Carry a small notebook and a bag of paper or small zip bags. For every find or group of finds, write the place and date on a slip and put it in the bag with the specimen, so labels travel with the rock. This is the habit that separates a catalogued collection from a bucket of rocks.
Always confirm that collecting is allowed. Note the land status (state land, national forest, a fee-dig, private land with permission), because rules and permit conditions differ and records of permission are useful. Our collecting ethics page explains the basics, and how to start rockhounding covers the equipment.
Step 2: Clean, identify and number
At home, clean the specimen gently first, because dirt hides the details you need for identification; our guide to how to clean rock finds explains what to avoid. Then identify it as far as you honestly can. Use a working name such as “quartz (probable)” and revise it later if tests prove otherwise. For example, use the checks in how to identify obsidian for dark volcanic glass, or the methods in quartz inclusions to record what a clear crystal contains.
Choose a numbering system
Give every specimen a unique accession number. Two simple schemes work well:
- Sequential: 1, 2, 3 and so on. It is easy and never repeats.
- Year-based: 2026-001, 2026-002. It shows when each specimen entered the collection.
Whichever you choose, never reuse a number, even if you discard or trade the specimen. Several pieces from the same find can share a number with a letter suffix, such as 2026-014a and 2026-014b.
Mark the specimen without ruining it
Museums number specimens directly. The usual method is a small patch of a removable coating, such as an acetone-soluble acrylic resin like Paraloid B-72, applied to an inconspicuous spot. The number is written on it in permanent archival ink and sealed with a second thin coat of the resin. White paint or correction fluid also works as a base on dark rock. Choose the back or underside, never a display face, and avoid fragile, powdery or very porous stones. For tiny specimens, number the box or tray instead.
Step 3: What to write on a label
A label is the short version of your catalog entry. It must stay with the specimen, so write it on acid-free card in pencil or pigment-based archival ink, and avoid cheap ballpoint ink that fades or smears. Keep the original dealer or mine label if there is one, and store it with the new one.
Essential label data
- Specimen number → unique and matched to the catalog
- Name → mineral or rock, with a question mark if unsure
- Locality → site, county, state or country, plus coordinates if known
- Date collected → and who collected it
- Source → found, bought or traded, and from whom
Useful extras
- Setting — host rock, geologic unit, how the specimen occurred
- Tests used — hardness, streak, specific gravity or lab results
- Land status — permit or permission details
- Handling note — fragile, water-soluble, radioactive or toxic dust
- Photo reference — the file name of its picture
Do not guess a locality. If you do not know where a piece came from, write “locality unknown”; an honest gap is better than a wrong record that then travels with the specimen for years.
Step 4: Build the catalog
A spreadsheet is enough. Make one row per specimen and give each data type its own column: number, name, locality, state, date, collector, source, size, storage location, notes and photo file. Sorting by any column then lets you find all specimens from one state or one mineral group. Free spreadsheet programs and a simple naming convention such as 2026-014.jpg for photographs are all you need, and a notebook is a perfectly good alternative if you prefer paper.
Photograph each specimen against a plain background with a scale and its number card in frame. Pictures help insurance records, trades and identification questions. Back up the file in at least two places, and keep a printed copy of the catalog somewhere safe. If the collection is large or valuable, record the price paid and the date for insurance and let a family member know where the records are kept.
Step 5: Store and display
Good storage protects both the specimen and the label. A dry, stable place away from direct sunlight is the best starting point, because strong light can fade the colour of minerals such as amethyst and rose quartz. Humidity matters too: damp air attacks some sulfides such as pyrite and can dissolve salts, so avoid damp basements and unheated sheds.
- Trays and drawers: shallow cardboard trays or small boxes lined with foam keep specimens from rubbing and chipping each other. Store the label in the same tray.
- Sort by one rule: by mineral group, by locality or by number. Because every item has a catalog number, you can change the order later without losing information.
- Separate special cases: keep fragile pieces in individual boxes, and keep radioactive stones apart in a ventilated place; our radioactive minerals guide explains how to test and handle them. Mark any specimen that sheds toxic dust, and wash your hands after handling it.
- Display with care: use stable shelves with a lip, put heavy pieces low and give delicate crystals a case. If you show fluorescent pieces, use UV lamps carefully as described in fluorescent minerals and UV light.
Maintaining the collection over time
Review the catalog once or twice a year. Update names when better tests or a lab result change an identification, and record the change with a date rather than overwriting the old name. Check for pieces that have crumbled, stained or grown a white crust, and inspect labels for fading. When you trade, sell or donate a specimen, keep its record and add a note saying where it went. If you donate to a school or museum, the catalog is exactly the paperwork they will ask for.
Frequently asked questions
What information should go on a rock specimen label?
At minimum: the specimen number, the rock or mineral name, the locality, the date collected and who collected it, and the source if you bought or traded it. Notes about host rock, tests used and handling hazards are useful extras.
How do I number rock specimens without damaging them?
Paint a small patch of removable coating, such as an acetone-soluble acrylic resin or white paint, on an inconspicuous spot. Write the number in permanent archival ink and seal it with a thin clear coat. For very small or fragile specimens, number the box or tray instead.
What is the best way to organize a rock collection?
Pick one sorting rule, such as mineral group, locality or collection number, and let the catalog handle the rest. With unique numbers and a spreadsheet you can reshuffle the shelves at any time and still find every specimen.
How should I store minerals to avoid damage?
Keep them dry, out of direct sunlight and away from heavy knocks. Use padded trays or boxes, store fragile pieces separately and keep radioactive or toxic specimens apart from the rest, with a clear handling note on the label.
Do I need special software to catalog a collection?
No. A spreadsheet with one row per specimen is enough for most collectors. Paper notebooks also work, as long as numbers are unique and the information is backed up or copied.
Should I keep the dealer label on specimens I buy?
Yes. A dealer or mine label carries locality and provenance details that you cannot recover later. Keep it with the specimen and copy the details into your own catalog.
Looking for display-ready specimens for your collection?
Sponsored — partner shop · Minerals Kingdom
A tidy collection starts with a single habit: number it, label it, write it down. Pair this guide with how to use a hand lens for identification, and rock vs. mineral to name each find correctly.
Written by The Field & Stone Editors · Published by KEVALEX Group.