 FIELD
FIELD How to use a hand lens
A hand lens turns a blur of grey rock into a landscape of tiny crystals, cleavage steps and glinting facets. It is the cheapest, most useful tool a rockhound owns — if you know how to hold it.
A hand lens — also called a loupe — is a small folding magnifier that a geologist carries on a cord around the neck, and it is the single most useful piece of identification kit you can own. Most of what tells one mineral from another happens at a scale your naked eye cannot resolve: the way a crystal face catches the light, the tiny stair-steps of a cleavage plane, the shape of the grains in a rock. A good 10× hand lens brings all of that into view for the price of a paperback, and learning to use one well is the quiet dividing line between guessing at a rock and actually reading it. This guide explains what to buy, how to hold and focus a lens so you actually see something, and what clues to hunt for once the specimen is sharp.
What a hand lens is — and why 10×
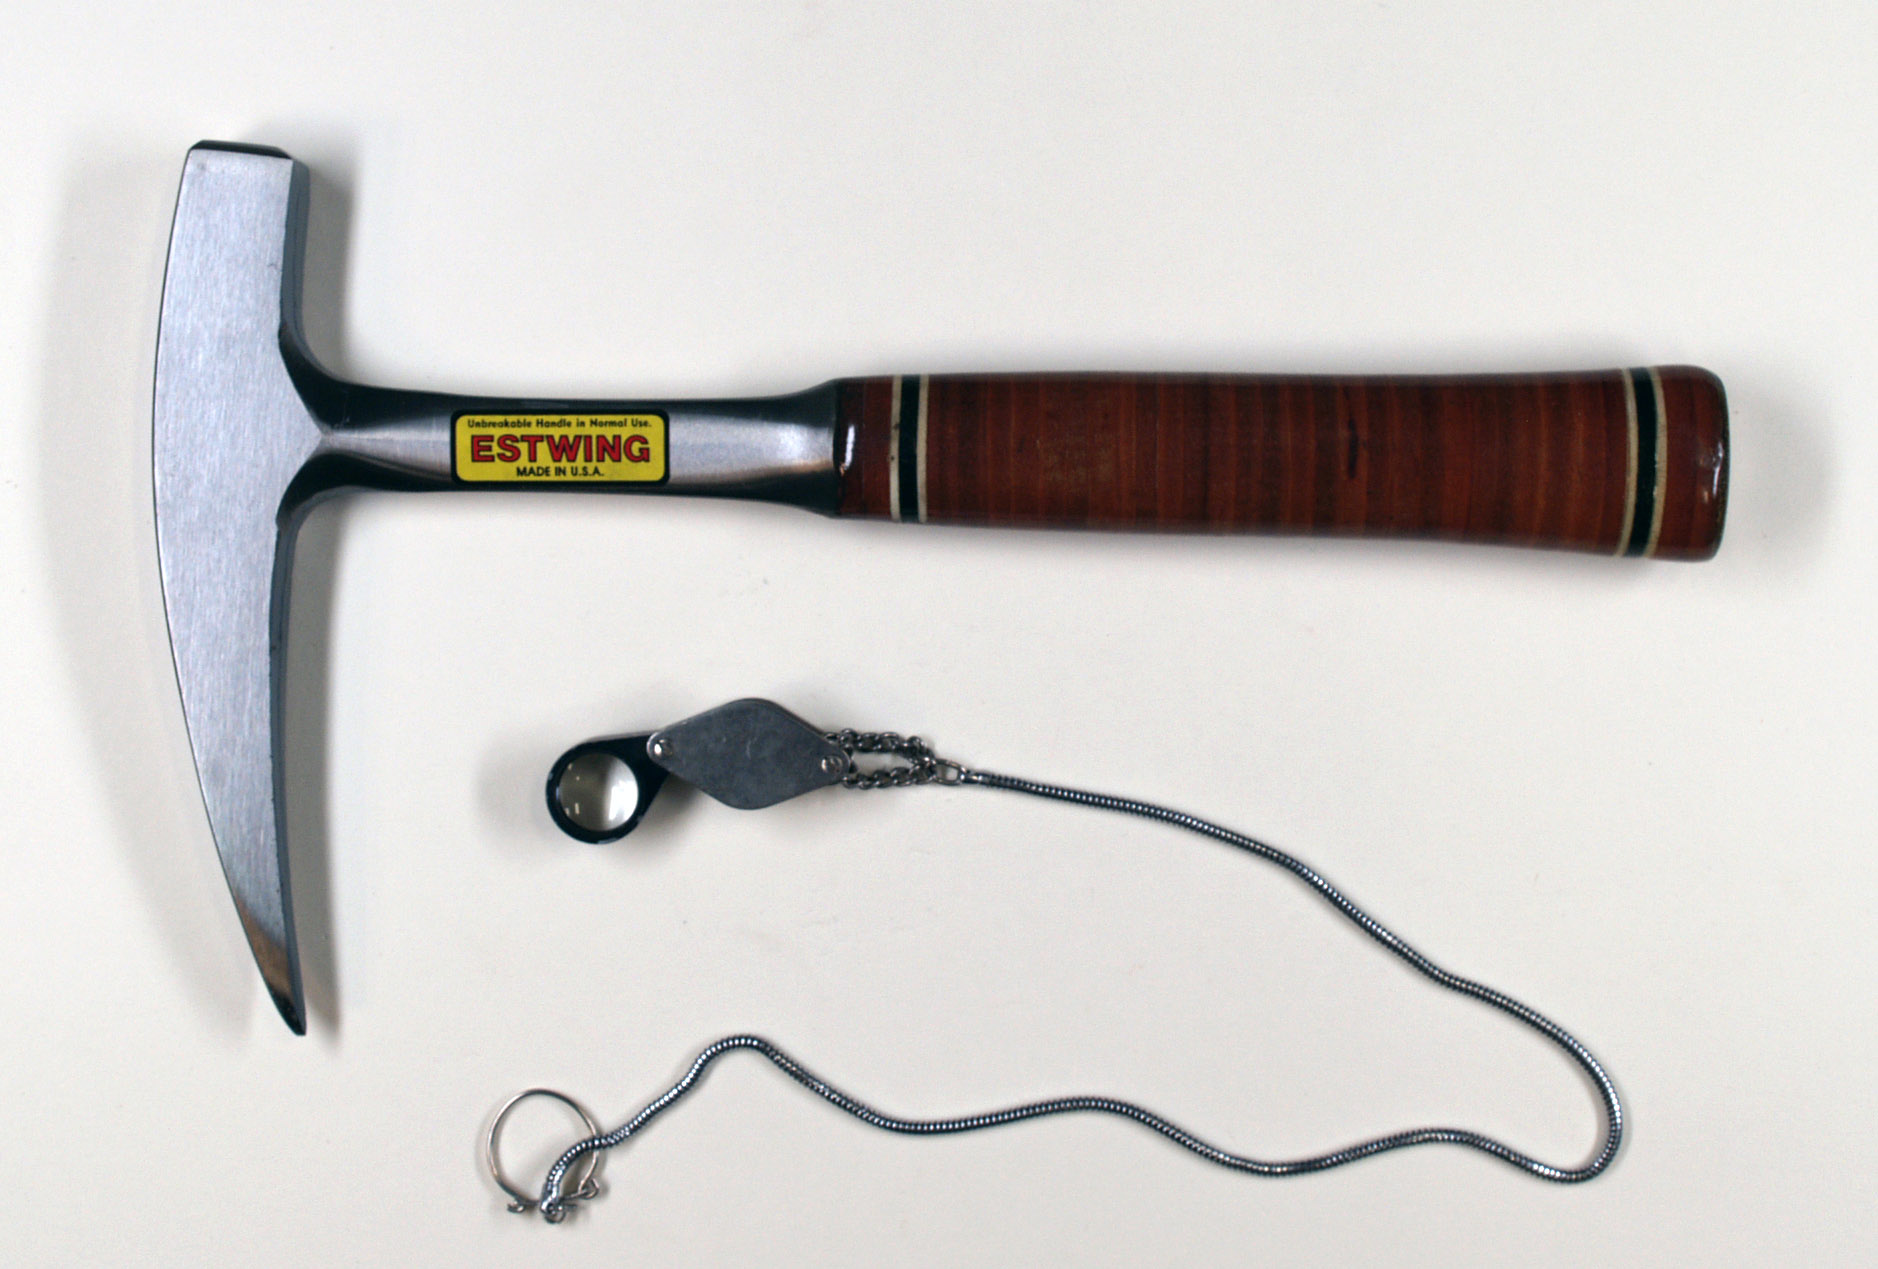
A hand lens is a compact magnifier whose glass folds into a protective metal or plastic case, so it survives a life in a pocket or a pack. The number stamped on it — 10×, 14×, 20× — is its magnification, how many times larger the lens makes an object appear. For general rockhounding the standard is 10×, and there is a good reason it has been the geologist’s default for over a century: it is powerful enough to show individual mineral grains, crystal faces and cleavage, yet its field of view and depth of focus are still wide enough to use in one hand on a windy hillside. Higher powers such as 20× magnify more but demand you hold the lens a hair’s breadth from the rock, give a tiny field of view, and are far harder to keep steady and lit. Start with a 10× and you will rarely want for more.
Choosing a hand lens
Not all loupes are equal, and the cheapest single-lens magnifiers show colour fringing and blur toward the edges that can actively mislead you. The quality mark to look for is a triplet: a lens built from three glass elements cemented together, corrected so the image stays sharp and colour-true right across the field. A triplet 10× from an optics maker is inexpensive and will outlast you. Look for a metal housing, a lens diameter around 18–21 mm (larger is brighter and easier to look through), and a sturdy loop for a lanyard — because a lens on a cord around your neck is a lens you still have at the end of the day.
Worth paying for
- A corrected triplet lens, not a single element
- 10× magnification as your everyday power
- An 18–21 mm glass for a brighter, wider view
- A metal body and a loop for a neck cord
- A dark, non-reflective housing
Skip or ignore
- Bargain single-lens loupes that blur at the edge
- Very high powers (20×+) as a first lens
- Built-in LED lights you rely on instead of daylight
- Giant « magnifying glass » handles — too weak
- Plastic lenses that scratch in a season
How to hold and focus a hand lens
This is where most beginners go wrong, and the fix is a single counter-intuitive rule: the lens goes right against your eye and stays there. Bring the loupe up until it almost touches your eyebrow or the bridge of your glasses, so your eye, the lens and eventually the rock make one short straight line. Then bring the specimen up toward the lens — moving the rock, not the lens — until it jumps into focus, usually two to four centimetres away. Brace for steadiness: rest the hand holding the lens against your cheek and the hand holding the rock against the lens hand, so the whole assembly moves as one and small tremors cancel out. Keep both eyes open if you can; it feels odd at first but is far less tiring. The distance from lens to rock at sharp focus is fixed for a given lens, so once you find it your muscle memory will hit it every time.
Light is half the battle
A magnified image is a dim image, because the same light is spread over a larger apparent area, so lighting the specimen well is as important as focusing it. Work with the sun or a bright sky over your shoulder and angle the rock so light rakes across the surface — low, glancing light throws crystal faces, growth steps and cleavage planes into relief far better than flat, head-on light. Tilt and rotate the specimen slowly under the lens and watch for the moment a facet flares into a bright flash: that glint is often the clue you are after. On dull days or in shadow a small flashlight held low to one side does the same job. Avoid relying on a built-in LED ring pointed straight down the axis, which flattens everything it lights.
What to look for once it’s sharp
With the specimen in focus you can finally read the fine clues that identification turns on. Look first at crystal habit — are there tiny well-formed crystals with flat faces and sharp edges, and what shape are they? Study the luster, the way the surface handles light, which is far easier to judge on a fresh magnified face than on a weathered lump. Hunt for cleavage: flat, parallel, repeating steps that flash together as you tilt the rock reveal a mineral splitting along planes, while a curved, shell-like surface is fracture instead. In a rock rather than a single mineral, the lens lets you see the individual grains — their size, shape and how they interlock — which is the heart of telling igneous, sedimentary and metamorphic rocks apart. And it is the perfect tool for spotting inclusions, tiny bubbles, or the doubled edges of double refraction in a clear crystal.
Caring for a hand lens in the field
A hand lens earns its keep only if it is clean and close to hand. Keep it on a lanyard around your neck, tucked inside your shirt so it does not swing and scratch against rock. Fold the glass back into its case whenever it is not in your eye, because grit is the enemy of any lens. Clean it with a soft cloth or a lens wipe, never a shirt tail loaded with rock dust, which will grind fine scratches into the coating over time. Because it costs so little, many rockhounds carry a spare, and pairing the lens with the other cheap essentials — a streak plate, a magnet, a bottle of dilute acid — turns a pocket into a working field lab. If you are still assembling your kit, our guide to how to start rockhounding lists the rest.
Frequently asked questions
What magnification hand lens should I buy?
A 10× hand lens is the standard for rockhounding and geology. It shows individual crystals, cleavage and grain texture while keeping a usable field of view and depth of focus. Higher powers such as 20× magnify more but are dimmer, harder to hold steady and better as a second lens than a first.
What is a triplet loupe?
A triplet is a hand lens built from three glass elements cemented together and corrected so the image stays sharp and colour-true across the whole field of view. Cheap single-lens loupes blur and show colour fringing toward the edges; a corrected triplet is inexpensive and well worth the small extra cost.
How do you focus a hand lens?
Hold the lens right up against your eye and keep it there. Then move the specimen toward the lens — not the lens toward the rock — until it snaps into focus, usually two to four centimetres away. Brace both hands together for steadiness and keep both eyes open. The focus distance is fixed for a given lens.
Why does everything look dark through my loupe?
Magnification spreads the available light over a larger apparent area, so a magnified image is always dimmer. Light the specimen well: put the sun or sky behind you and angle the rock so light rakes across it, or use a small flashlight held low to one side. Good raking light also reveals crystal faces and cleavage.
What can you see with a hand lens that you can’t with the naked eye?
A 10× lens reveals crystal habit, the true luster of a fresh face, cleavage steps versus curved fracture, the size and interlocking of mineral grains in a rock, and fine details such as inclusions, bubbles or the doubled edges of double refraction — the very clues most identifications depend on.
Is a magnifying glass the same as a hand lens?
No. A large-handled magnifying glass is typically only 2× to 3× and held far from the object — too weak to show mineral detail. A hand lens is a compact, high-quality 10× loupe held right at the eye. For rock and mineral identification you want the hand lens.
Building your field kit?
Sponsored — partner shop · Minerals Kingdom
A hand lens is only as good as your eye for what it shows — sharpen that by reading up on mineral luster, crystal habit and cleavage and fracture. Put the lens to work on the clear-crystal test for double refraction, or on the puzzle of telling a concretion from a fossil or geode.
Written by The Field & Stone Editors · Published by KEVALEX Group.